


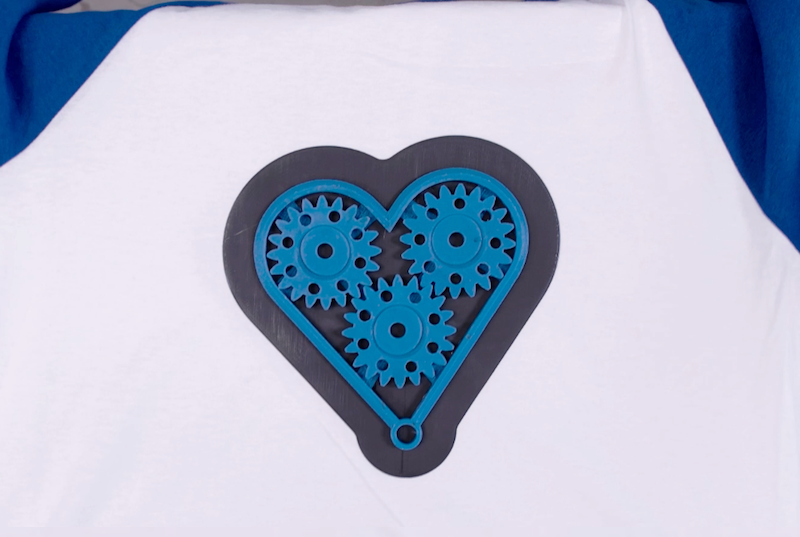
Want to add some flare to that plain T? 3D print something and heat transfer it to the shirt in order to get a 3D pop like no one has ever seen before! In this blog, we will teach you how to create your own 3D printable t-shirt graphic and how to effectively transfer it to the shirt. View the video to find out how or follow the steps provided below.
Tools you need:
3D Printer (FDM)
A Plain Cotton T-Shirt
Iron
Ironing Board
Aluminum Foil
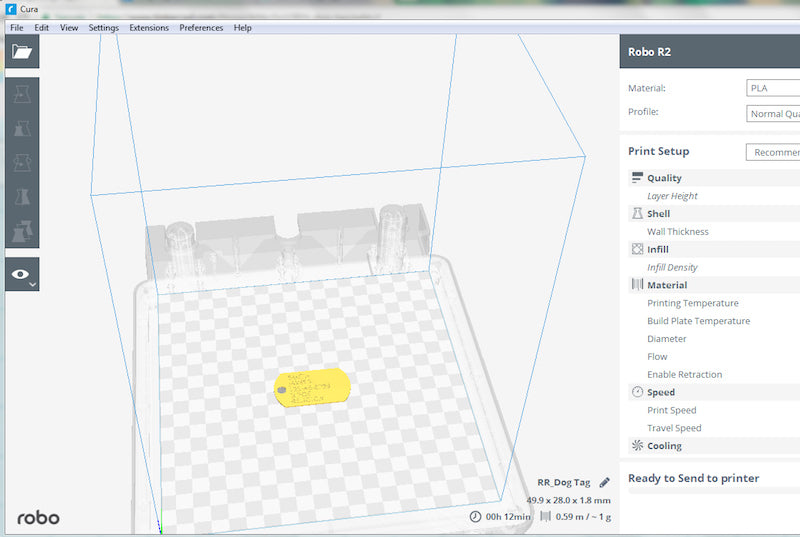
A flat PLA 3D printed graphic, logo, or object
Note: For best transfer, 3D print should only be about 2-3mm thick
Once you have the 3D print of your choice and the plain t-shirt you would like to transfer to, you are ready to go.
Note: In order for your t-shirt to flex better, your design should not be one whole solid piece. You should design it to have breaks. The space between pieces can be as narrow as you require.
Step 1: After you have your design printed out, arrange your design on an ironing board. The design should be oriented face down on the ironing board. If your design includes words, the words should read from right to left so that, once ironed on and viewed from the front of the shirt, they will appear in the proper left to right order.
Step 2: Cut the piece of aluminum foil to match the size of the print you are transferring over to the shirt.
Step 3: Place the shirt over the graphic that is laying on your ironing board and make sure to straighten it out so the graphic is transferred at the angle you want.
Step 4: Once the shirt is set up on the print, place the aluminum foil on the inside of the shirt, over your design. This will prevent the design pieces from adhering to both layers of your shirt.
Step 5: Plug in your iron and set your iron settings so that steam is turned OFF and the heat is about ¾ from full heat.
Step 6: Press down on the graphic lightly and slowly move across the entirety of the graphic for about 4 extremely slow passes. Let the t-shirt cool after each pass and do not press weight onto the piece. It will smash and deform the 3D print.
Step 7: Remove the aluminum foil and make sure that the graphic has slightly melted into the shirt. You should be able to visibly see this from the inside. Once this is confirmed, go ahead and slowly lift the shirt from one side to make sure each piece is adhering to the shirt well. If some of the print does not seem to be sticking well, set the shirt back down on the board as before and go over that specific part with the hot iron.
You are now ready to wear your custom 3D printed t-shirt!

Mike
December 13, 2017
How do you wash it?
Robo Team
December 13, 2017
Hi Mike,
You can wash your 3D printed t-shirt in the washing machine with cold water. Only put your t-shirt in the washing machine inside-out. Do NOT dry in the dryer and let it air dry.
Best,
Robo Help