General Painting Methods
By Mike Hall from Paragon Studios
@Paragon__Studios
There are countless ways to paint a model, or processed 3D print. If you’ve done good sanding work, applying spray paints of all kinds will look fantastic, depending on what you’re trying to achieve. Given, of course, you apply the spray paint correctly. It’s easy to assume using spray paint is easy, which when done thoughtfully it is. Always be sure to follow the directions of the back of the can, which will read something along the lines of... “Shake well...Spray on multiple thin coats a few minutes in apart to avoid drips, and pools.” The label will also read when it is dry to touch at a standard temperature, and humidity as well as when it is dry enough to handle. Always give your paint a good amount of time to dry before you do anything else with it.
Masking is a very important and delicate procedure. Be sure your paint has had a long time to dry before applying masking tape. Otherwise, the tape will peel off the glossy finish or even the paint itself. Never use masking tape used for drywall (tape that has a slight coarse texture to it and mainly used to cover 3D printer beds). Delicate surface masking tape also exists - which is usually yellow. This tape has a lower tack than the normal tape, which means it will have a lower risk of peeling off your previous layer. A personal favorite of mine is 6mm Tamiya masking tape. It’s thin enough to get into hard to reach details and is much easier to place accurately. I start by laying down the Tamiya tape. Then, once all my fine details are covered, I use larger pieces of masking tape to block in the rest of the details. If I need to cover an unusually large area, I will wrap the part in plastic wrap and tape down the edges to avoid paint from seeping under the tape. If you are worried paint will seep under the tape, apply a clear coat of spray paint first, and/or apply your spray paint at a ninety degree angle. If you’re really concerned, apply the paint with a brush (however you will see brush marks in the final result).
After applying your second color, allow the paint to dry fully before peeling off the tape. When you peel the tape off, be sure not to pull it off at a ninety degree angle. Keep the tape as flat to your part as possible to further avoid peeling off the layer below. For more colors, rinse and repeat the same process.
IMPORTANT: Never apply a clear coat to metallic finishes unless the clear coat is specifically designed for the paint you’re using.
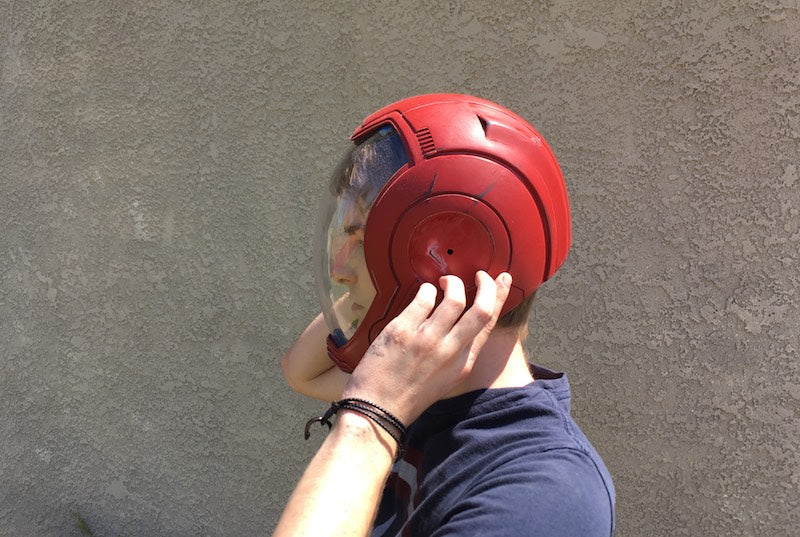
For a true metallic finish, spray paint cans are not enough for a realistic look. I look to Alclad ii lacquers for this job, which are applied with an airbrush. The most important thing to note about this type of finish is you must apply a high gloss black base coat before applying the lacquer. (Be sure to shake the paint well before loading it into your airbrush.) If the base coat is not high gloss, your final finish will look dull and flat, just like a silver spray paint. However, I have found high gloss black spray cans that are enamels have the best results, rather than the base coat Alclad provides for your airbrush. It’s always a good idea to seal these lacquers to protect your finish, but as stated previously, you must use an appropriate sealer. For this, I use Alclad’s high gloss sealer called Klear Kote. Be sure to build up enough layers to achieve that high gloss finish.
Vinyl wraps also have great applications in prop work. For example, you can buy a wrap with just about any finish you want, and apply it to your part as long as there aren’t harsh complex curves, or large holes. The carbon fiber printed wraps are a favorite of mine for that extra bit of detail. All you need is an Exacto knife, and a heat gun to apply the wrap.
About the Author
Michael Hall is a 17 year old high school student that always had a creative mind ever since he was little. With his creativity he was able to design his own models and teach himself how to post process his prints. This is his second blog in a 3 part series. Check back here to follow his story! Follow Mike on Instagram @Paragon__Studios