After you’ve printed a 3D design and want it to look completely smooth and shiny, using XTC will give your print the kind of finish you’re looking for.
Here's what you'll need:

- 3D print made in PLA, ABS, or specialty material
- XTC 3D print coating
- A paintbrush (you can also use the sponge brush that comes with the XTC coating kit)
- Measuring cup
- Mixing container
- Mixing stick
- High grit sandpaper - 2000 or above

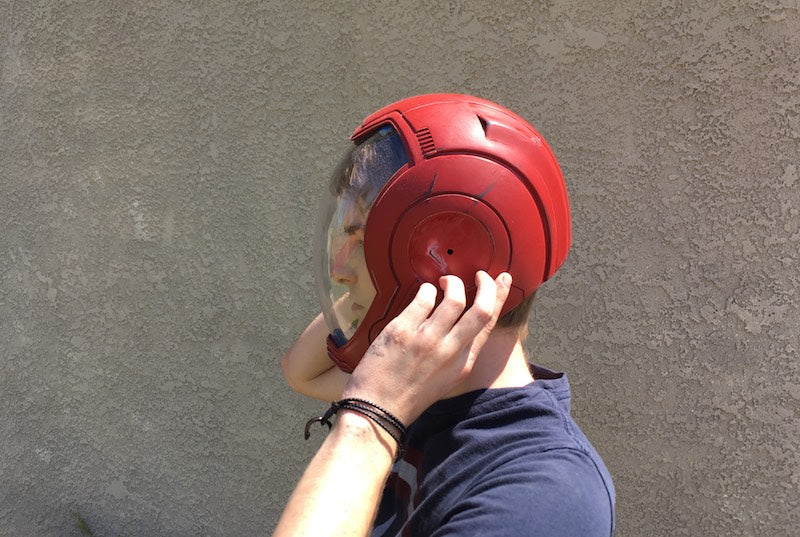
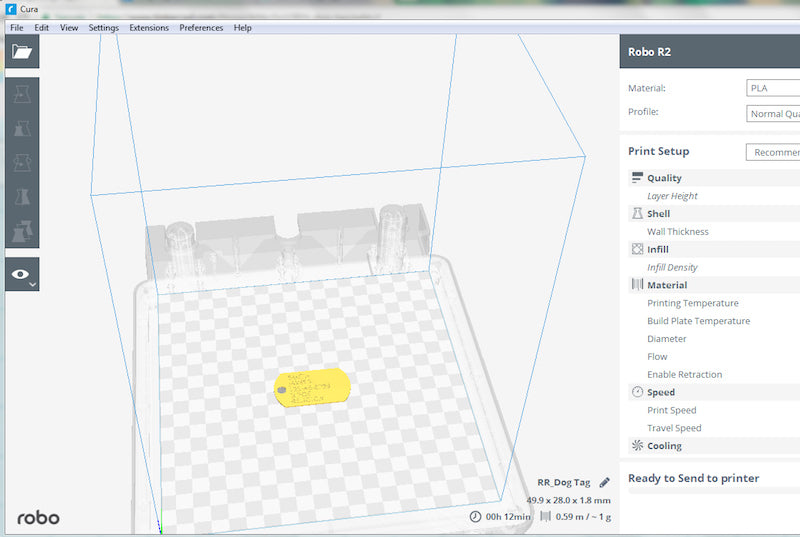
1. Find a super cool model to print on your Robo 3D printer or other 3D printer. Once finished, make sure to clean off any excess or support material on the part.

2. Take the XTC part A and B out of the box.

3. Using the included measuring cup, measure out 1 part B. Make sure you use the measuring cup that comes in the box to measure the amount of liquid ratio.

4. Pour the measured 1 part B into a mixing container.

5. Next, measure 2 parts A.


6. Pour 2 parts A into the same mixing container.

7. Use a stick to mix them all together.

8. Then, grab your paintbrush and begin applying the mixture onto the print. You will notice the shiny effect of the XTC on the print.

9. After 1 layer has been applied, let the print dry.

10. After your 3D print is dry, take a high grit sandpaper, 2000 or above, and lightly sand the model. Once it is sanded, re-apply one more layer of XTC to the model and you will see it become shinier while hiding those unwanted layers, and looking like a beautifully finished 3D print.