The most overbearing part of 3D printing going mainstream is 3D design — most users think the process of designing and creating a model is extremely difficult, but I am here to show you that it is actually quite simple.
If you’re looking to get into 3D design, TinkerCAD is a great place to start. TinkerCAD is a free, online design tool for beginners. The application is designed to educate users – providing both tutorials and a series of interactive lessons on how to use this tool. Its ease of use makes it a great option for anyone wanting to try their hand at 3D design.
After creating an account on TinkerCAD, you will be prompted to go through a short tutorial. This tutorial will introduce the use of geometric shapes to create objects. It covers the basic tools for positioning shapes, combining and subtracting shapes to create new ones, and using the Workplane tool to aid in alignment.
After completing the TinkerCAD tutorial, you’re ready to start making!
Creating and Naming Your Project
Video 1 (featured below) shows the TinkerCAD dashboard. You can start a new design by clicking on the blue ‘Create new design’ button. Your past designs will also be shown in the dashboard with the option to edit them. Once you start modifying a design, TinkerCAD will save your changes as you go along. If you want to make a backup of a design before editing, click on the gear icon of the design and select 'Duplicate'. This will create a copy of the design you can work with.
When you start a new project, TinkerCAD automatically generates a name for you. You can rename the project from within the editor by clicking on the Design menu.
Designing Your First Model
Once you’re comfortable with some of the basic functionalities of the dashboard and the workpanel, we will go ahead and get started on designing your first simplistic print - a keychain. You can add your name to the keychain, your nickname, your dorm room, your favorite sports team, or anything that you like. Check out the how to video below.
Take Your 3D Modeling One Step Up
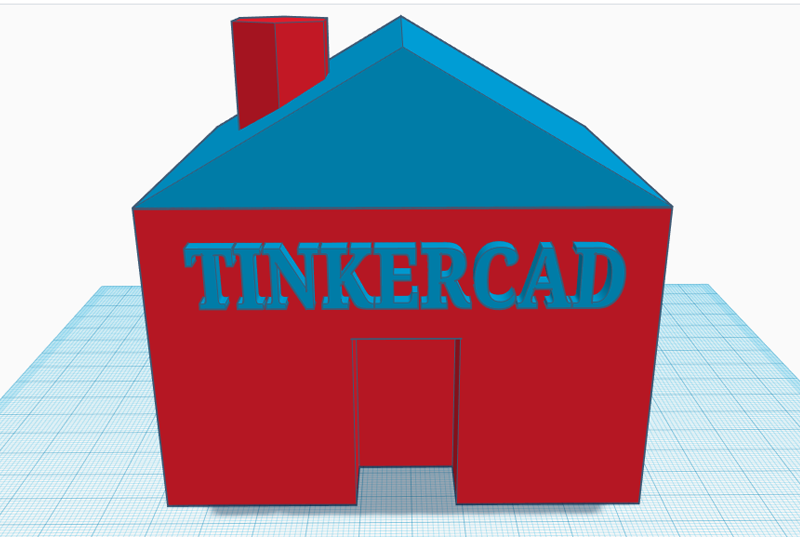
Now that you have designed a keychain, you can understand that the functionality of TinkerCAD is very simple. You can go in and start experimenting, but I also want to show you one more video of a slightly more complicated object that will help you with a few more tools in the TinkerCAD toolbox. The video below will show you the design process and also how to export as .STL file, which you will use that file type to take directly to your Robo 3D Printer.
Taking Your Model to 3D Print
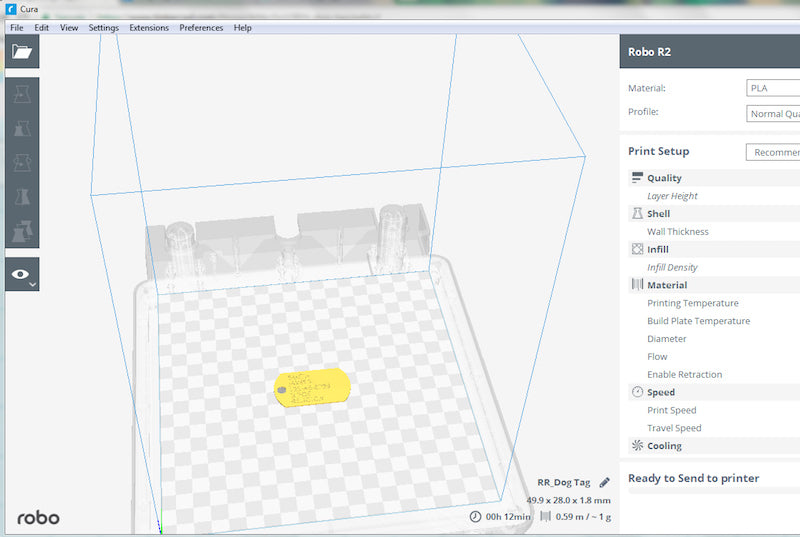
Once you’re satisfied with your design, printing your TinkerCAD designs on your Robo 3D Printer is a simple process. All you need to do is download your design as .STL file, you can drag and drop it into your CURA software or save it onto a thumb drive, plug USB into the printer, and go through the steps for onboard slicing. It's that simple!
Why .STL?: .STL is a standard file format for three-dimensional models that has been around for a long time and is widely supported by almost all design programs. When a design is saved in this format, the design program translates the design into a surface map, and saves it in either a binary or text format.
With TinkerCAD the process from an idea to a finished print is streamlined. The principles you learn through using the tool will remain relevant, even as you move on to more advanced design programs. The tutorial is only a brief overview of some of the features that the platform has to offer. For more in-depth training, you can access interactive lessons under ‘Collections’ in the left-hand side of your dashboard. You can also find the tutorial video and other training resources here.
Be sure to show us what you designed in Tinkercad and 3D printed on your Robo 3D Printer! Share it on social media using #robo3d or below in the comments.
Some Of Our Favorite TinkerCAD Tutorials by Channel Eunny
Make a cup in this tutorial. Cheers!
Make the Parthenon quick and easily!
Make this Eiffel Tower all on your own!