When using a 3D printer with only one extruder head, it may feel like you’re limited to printing with only one color. Far from it! In this blog post, you’ll learn how to make multi-colored 3D prints in no time even while you’re in the middle of printing.
Here's what you'll need:
- 3D design
- At least 2 different colors of filament
- 3D printer
1. Find a 3D design through an online community or design one yourself.
2. Load the 3D file onto the printer.
3. Begin printing with the first color as the base.
4. When the print gets to the desired layer, select ‘PAUSE’ on your 3D printer.
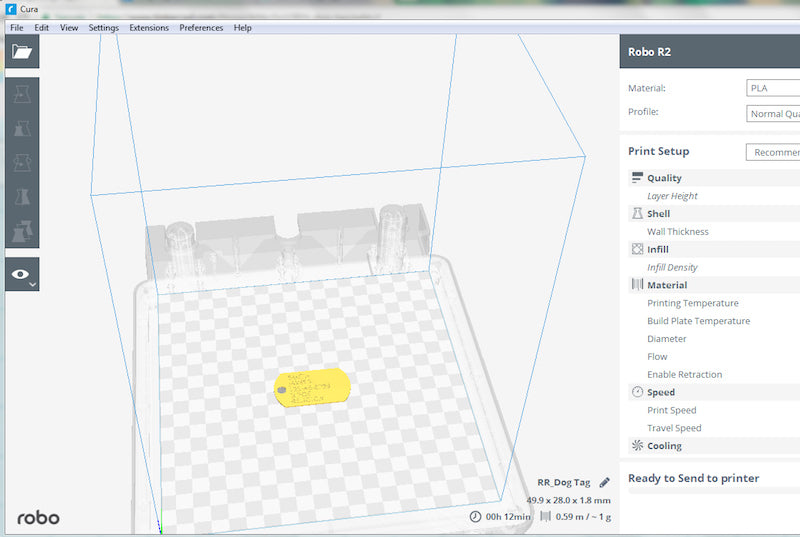
NOTE: You also have the option to put a stop into the GCODE using Cura software. You would do this by opening Cura. Go to EXTENSIONS > POST PROCESSING > MODIFY G-CODE. Select ‘ADD A SCRIPT’ and then press ‘PAUSE AT HEIGHT’. Select the desired layer where you would like to change colors. Save the G-Code onto a USB or print via Wi-fi and the file will automatically pause at the desired layer.
5. Go to the settings on your printer and select ‘CHANGE FILAMENT’. If you are using a Robo R2 or Robo C2 printer, go to your touch screen and select UTILITIES > WIZARDS > FILAMENT CHANGE.
6. The current filament in your printer will begin to unload from the extruder.
7. Once the filament has finished unloading, swap the filament roll for other desired color and load it into the extruder.

8. After the color is loaded, press ‘RESUME’ on your 3D printer.
9. The printer will resume printing from where it left off. Repeat steps 4-8 when you want to change to another filament color.
NOTE: You have the option to change colors as many times as you would like for a given 3D print.

10. After the 3D print is complete, it will be multi-colored.


