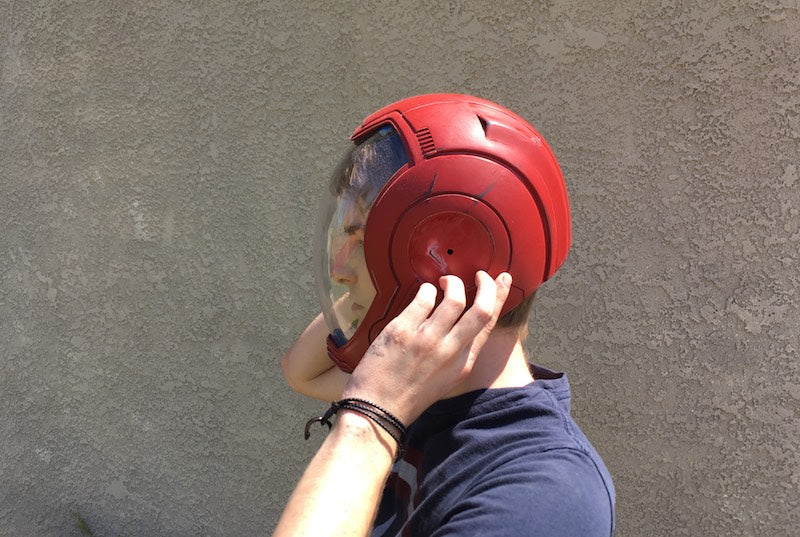
When a 3D print finishes in one color and you want to give it some extra pop, hydrographic dipping is a great post-processing technique that helps you do it. And we’re going to teach you how! Hydrographic dipping is a water transfer of a film to a 3D printed part, taking you from a single color to an eye-catching masterpiece based on the film you use.
Note: Not all 3D prints are suitable for hydrographic dipping.
Here’s what you’ll need:

- 3D print made from PLA, ABS or specialty material (for most graphic transfers, white PLA works best)
- A large rectangular container
- Warm water
- Hydrographic film
- Hydrographic activator spray
- Blue painters tape
- Scissors
- A steady hand
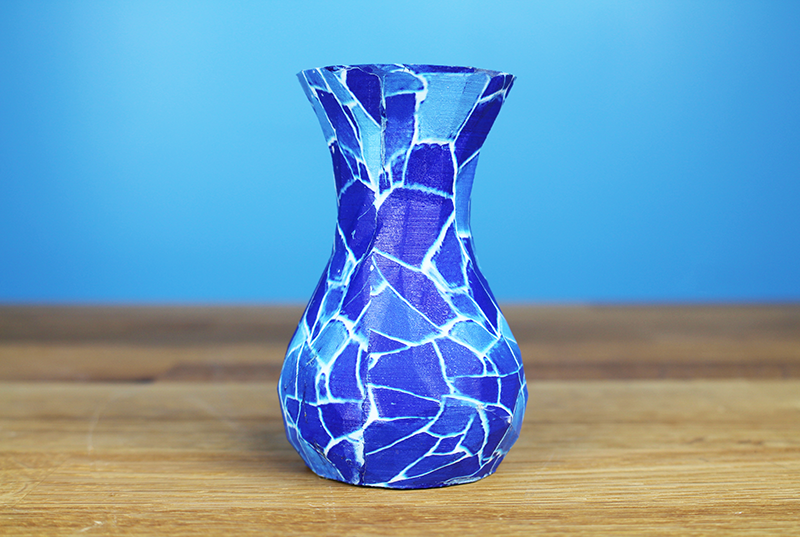
In this example, we’re using a blue mosaic looking film, which you can find here: Blue Mosaic Hydrographic Film

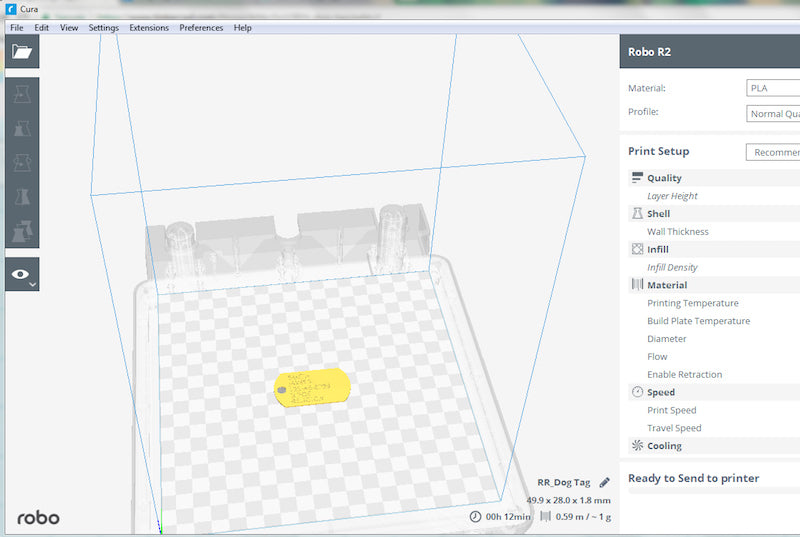
1. Once you have the 3D print of your choice and the hydrographic film that you want to transfer over to your print, you’re ready to go.

2. Cut the hydrographic film in the shape of the container you’re using, but slightly smaller than the container so that it eventually lays flat on the water when the container is full and you’re doing the transfer.

3. Place the graphic side face down. Next, secure blue painters tape along each edge of the film.

4. Using scissors, cut 4 diagonal slits at each corner of the film.

5. Once the hydrographic film is prepped, fill your bucket up with warm water.

6. Place the film graphic side down in the water. When you place the graphic in the water, make sure it’s completely flat and not sinking. It should lay on top of the water’s surface nicely.

7. Wait 1 minute. Now spray activator onto the film.
8. Wait a few seconds and you will see the film begin to dissipate.

9. Take your 3D print and SLOWLY dip it into the film from one edge and downward into the graphic. Note: If you are using a circular 3D print, you will need to roll it through the graphic for the film to pick up across the entire 3D print.

10. You will notice the graphics begin to transfer to the print!

11. After you transfer the graphics, run the object under cold water for a few minutes. Then, leave it out to dry.

12. After drying, the graphic should display on the print cleanly. Your print is now finished! Enjoy! Optional: Spray the 3D print after it dries with a clear-coat protectant to really make it pop and protect the graphic transfer.