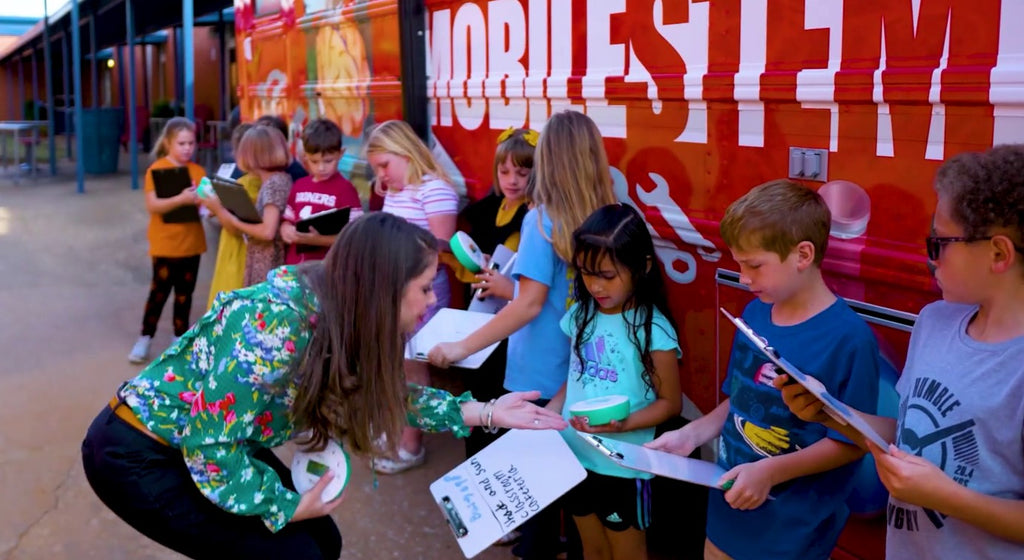
STEM Bus Inspires Creativity, Curiosity and Innovation
Have you downloaded the Robo app yet? If not, you’ll absolutely love it! The Robo app allows you to control your 3D printers right from your phone and also lets you download your 3D models with direct access to Dropbox and Google Drive. It’s great for a family of 3D printing enthusiasts or even for a classroom so that many users can monitor, slice, and send files to the printer all from their desk, alleviating the need for multiple computers. Here’s a list of 10 things that you can do with your Robo app.

- Multiple printers with one app – Control multiple prints and manage your 3D printers all at once with the Robo app. To learn how to add a printer to your Robo app, click here.

- Print directly from the app – Print your files within the app from either your printer’s local file library or a linked storage account. You can do this by selecting your 3D printer from the dashboard and click on the ‘Library’ tab. From there, select the file that you’d like to print. For .gcode files, the print will start right away but for .stl files, you will go into the app’s file slicer.

- Cloud storage integration – Easily connect to cloud based libraries and access thousands of 3D models. After you have linked your Google Drive or Dropbox account, go to the dashboard and click ‘Select Storage’. Choose the storage account and then select the file that you want to print. When you send a file to your printer, it will also save it to your local file library.

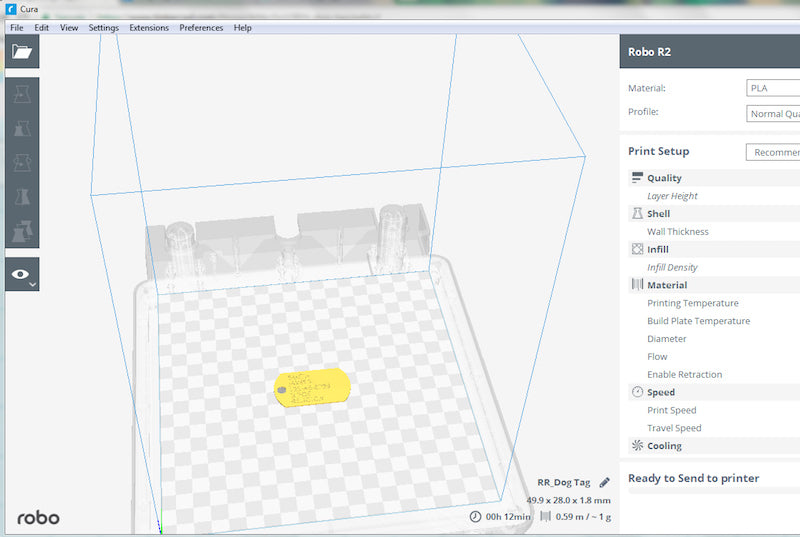
- Slice models directly from the app – Bypass a computer and slice your 3D design file right through your phone. Select your .stl file from your linked storage account or the printer’s local library. You will be brought to the app’s file slicer where you can choose a profile or custom setting. In the slice settings, you have the option to choose a Robo slicing profile or you can select custom settings for print quality, infill density, printing temperatures, rafts, and supports. After you’ve selected your settings, click ‘Send to Printer’ and choose which printer you would like to send the file to.

- Control print settings – Preheat your extruder before printing. When your printer is idle, you can control various aspects of it from the printer controls screen. Begin by selecting the printer from your dashboard and you will be brought to the Controls tab. Here you can move the motors across each axis, heat up your extruders and bed (if available), run the fans, and view the printer terminal.

- Fine tune your prints - Monitor print progress via the dashboard and printer controls. You can fine tune printer settings while you print from the control tab. Watch the progress of your print, change bed and extruder temperatures, control the fans, and even pause and cancel prints as needed.

- Video monitoring with R2 – Record your prints in real time, watching them come to life right on your phone. If you have an R2, your printer comes with an integrated camera so you can monitor your prints remotely. In order to set this up, select your printer from the dashboard and find the ‘Video’ tab. Select ‘Toggle On’ to turn on the video. When the camera is on, you’ll see your print in action on the screen.

- Edit printer settings – Give your printer a nickname, alter printer settings and configure Wi-Fi settings here. From your dashboard, simply select ‘Settings’ and you will be able to make changes to your printer settings.

- Browse through resources – Need help getting started with your Robo 3D printer? View getting started videos and user manuals right from the app.

- Visit the Robo Store – Stay stocked on materials. Visit the Robo store to shop for filament, accessories, Robo 3D printers, DIY kits, and much more!
To download the iOS app, click here. Android app coming very soon.


Brad
February 20, 2018
How long for the Android app??
Robo Team
February 23, 2018
Hi Brad,
We’re in the final stages of internal testing. We’re just weeks away. Stay tuned for more updates.
Best,
Robo Team