3D Print Coral Reefs with Sam Suchin of Hope3D

The 2018 ISTE conference in Chicago, IL was an eye-opening experience for team here at Robo. It was our 4th year attending the vaunted educational conference and expo, but this year we heard a somewhat distressing refrain from many of the teachers we spoke to who had already adopted 3D printers into their classroom — they weren't necessarily using them! As you might imagine, this was a complete bummer for us to hear, but it’s an issue that we’ve become well acquainted with through our conversations with educators over the last couple of years. Do you want to know what the two most common concerns that teachers have expressed about 3D printing in their classroom? One is that 3D printers seems difficult to use or maintain and the other is an unsure feeling about how to best implement them into a cohesive educational course that satisfies state standards. These are legitimate concerns, so we’d like to address them here and tell you why we see 3D printing as one of the most easy, affordable, and impactful ways to bring STEM and STEAM learning into your classroom. Take a look below at some of the most common questions that we hear from educators and the solution to solve them:
"Where do I start?"
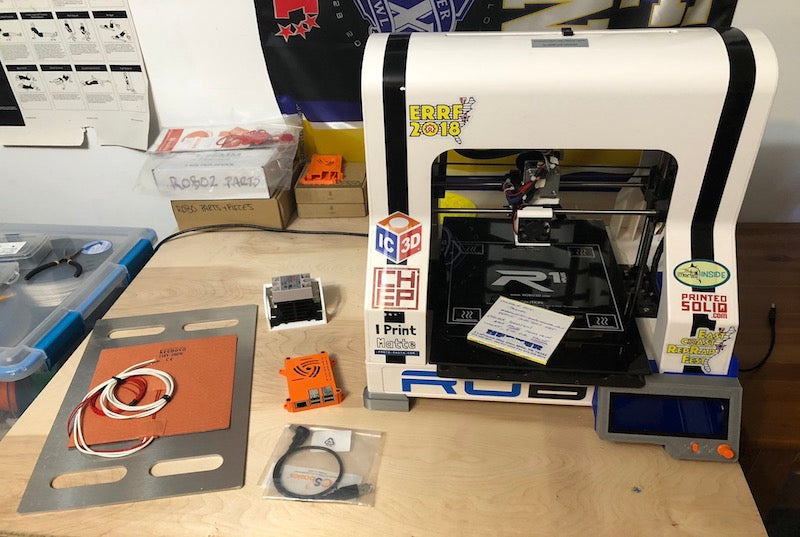
You are an educator who either purchased your own classroom 3D printer or had one donated to you through a grant or STEM program from the district. So what do you do now? It’s a fair question! We always suggest that the first thing you should do is to just start printing stuff so that you familiarize yourself with operating the 3D printer. Watch the getting started videos, load the machine with some 3D printing filament, and go find a cool model to print. Some great websites for finding free 3D printable models are MyMiniFactory.com, Thingiverse.com, and Yeggi.com. All of these sites will allow you to download a wide variety of 3D printable models (often called .STL files) that can be loaded into your 3D printer. If it’s your first time using a 3D printer, consider starting with something relatively small (3” x 3” x 3”) so you can get comfortable with the 3D printing process. Students and teachers alike are often mesmerized by the 3D printing process when they first encounter it, so it almost doesn’t matter what you print with your first couple of builds. With that being said, congrats on your first print!
"Can you provide some examples of how 3D printing is helping teachers in the classroom?"
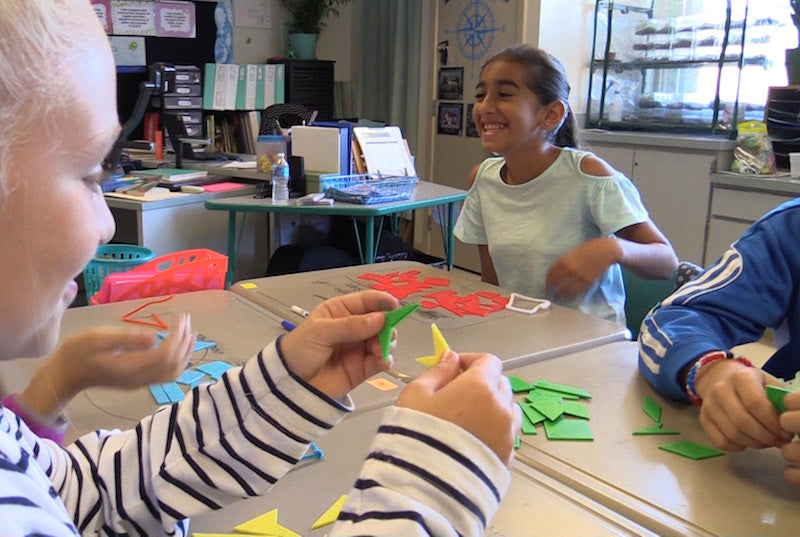
Did you know that, according to the US Commerce Department, over the next ten years STEM related jobs will outpace non-STEM related jobs by at least 2 to 1? Since 3D printers are a complementary tool that help bring STEM initiatives to education, we’ve seen first-hand the impact they can have by preparing students for the jobs of the 21st century. As they learn the basics of 3D design, students collaborate and use critical thinking skills to solve problems when designing their models. Moreover, students gain a more firm grasp of STEM related concepts when they take a more active role in the design and development process and get to see their creations built before their eyes!
In reaching out to our community of users, we have seen numerous examples of teachers using Robo 3D printers successfully. One stand out example is Shelley Emslie, a 5th grade teacher in Montana who is designing and 3D printing coral reef models to teach her students about oceanography in a newer, more exciting way that her kids will never forget.
Still, we understand that not every teacher has the time or the natural inclination to learn all there is to know about 3D modeling. With Robo's recent acquisition of MyStemKits - a STEM learning platform featuring 240+ certified and complete lesson plans backed by research and utilizing 3D printable objects - those teachers now have a full turnkey system that allows them to use 3D printers properly and confidently in the classroom setting.
Check out some of the MyStemKits testimonials below.
"I'm a teacher introducing 3D printing for the first time to students. Any advice?"
It is important to introduce 3D printing to students correctly to avoid any frustration or disengagement - 3D printing and the design process can be somewhat challenging until you get the hang of it, so here are some tips that will help you get the most out of your printer when it first arrives in your classroom. Start by setting up the proper environment for your 3D printer. Find a spot in the room where students can see it working when in use, but also one that won’t distract the students from lectures or other non-3D related projects. Also, make sure that you, the educator, are the one utilizing the 3D printer. Students, especially the younger ones, may have some difficulty managing the setup and general maintenance of a 3D printer, and we don’t want them to get discouraged by those processes. These things are easy to handle for adults, so make sure that setup and maintenance responsibilities are in the hands of a grown-up! Once you get your printer going, let it print and allow the students to see the build process first. After running a few print jobs, consider introducing your students to 3D modeling by utilizing a simple, free design tool, like Tinkercad. Let your students learn the basics of the program by having them engage with the built-in tutorials before challenging them to design something to help organize the classroom, for example.
One of the main benefits for students using 3D printing in the classroom is that they learn that it is OK to make mistakes. Let’s say a student has something printed that doesn’t turn out quite right; a hole for a keychain needs to be made bigger or smaller, or an angle isn't quite the right degree for two parts to fit together properly. This presents a natural learning opportunity that challenges students to collaborate with others, revisit their designs, and make the necessary adjustments. After all, iteration and collaboration are extremely important concepts when it comes to the real world design process for all kinds of everyday products!
To help get you started, we have a list of free design lessons you can access here.
"We have 3D printers, but we don't know what to do with them."
When we talk to educators, by far the most pervasive concern that they have with regards to 3D printing in the classroom is WHAT TO DO with their 3D printers once they have them! Many teachers understand the positive impact on STEM learning in which 3D printers can provide, but they’re not exactly sure how best to merge 3D printing activities with a solid, research-based STEM curriculum. This is why we suggest using a platform like MyStemKits. MyStemKits allows you to go on their website, choose a subject, filter by grade level, and browse a wide variety of available lesson plans. After choosing a lesson, you just download the associated lesson plans, teacher guides, student assessments and 3D print the companion learning aids. MyStemKits connects to your 3D printer over Wi-Fi, so there’s no fussing with transferring the 3D model files to your printer. Just click print on their website and the file will quickly transfer to your printer and begin printing on its own.
"What is the cost of 3D printing something? Isn't it expensive?"
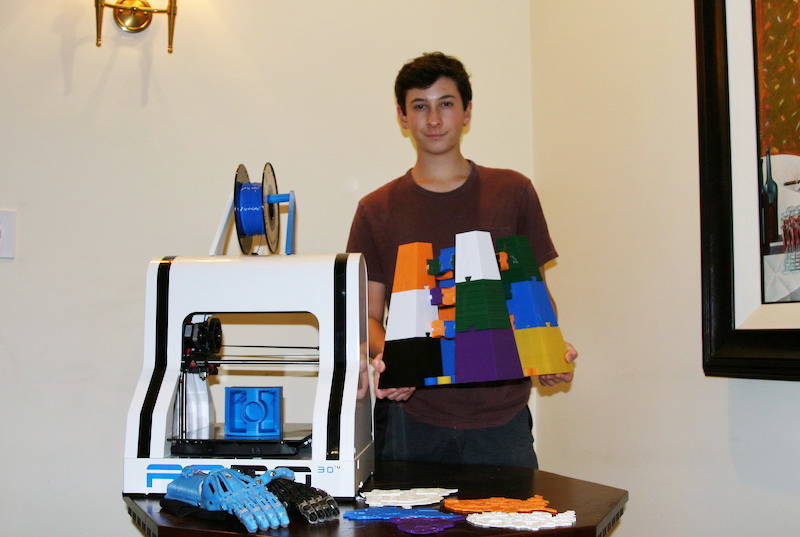
Quite the contrary. Once you own the 3D printer itself, the cost of the printing material is relatively inexpensive. Our 500g reels of safe, bio-degradable PLA plastic retail for $20 each, and go a surprisingly long way. If you used an entire 500g reel of filament to print out chess pieces, for example, you could expect to make around 150 pieces. That works out to only 13 cents per piece! Larger items will require more filament to print, of course, and your mileage per reel will vary depending on the kinds of things you are printing, but ultimately, after you’ve worked with your printer for a short while, you will quickly be able to see just how economical 3D printing can be.
On the subject of economics, one of the huge benefits of our certified STEM learning platform, MyStemKits, is the cost savings of printing your STEM learning aids versus buying them in individual kits. For example, the hominid lesson plan, found in the Life Sciences category of the platform, only costs about $5-$10 worth of 3D printer filament to make all the various species included in the kit. If you were to purchase similar models from an educational supplier, they could cost close to $1000 or more. The cost savings are apparent and, on top of everything else, if one of the models should get misplaced, you can simply print out a replacement!
"What is slicing software and how do I use it?"
“Slicing” refers to the general process of taking a 3D model file and converting it into a set of instructions that tell a 3D printer how to build it. That may sound complicated, but it really isn’t! The slicing process is handled by software that automatically converts your 3D models so that they will print well on whichever 3D printer model you happen to be using. There are various slicing programs available, with Simplify3D, Cura, and MatterControl being some popular examples. When you first run a slicing program, you are often directed to tell the software a little bit about the 3D printer you are using so that the printing instructions generated by the program are compatible with the capabilities of your printer. Most slicers have “profiles” or default settings for a whole host of popular models of 3D printers already built-in. Just select your printer from a dropdown menu, drag your 3D model file into the software, click a button to convert the file, and you’re all set to get printing!
That said, many slicers also present a dizzying amount options for one to consider when converting their 3D models. Print speed? Print temperature? Infill percentage? Folks who are just getting started with 3D printing can sometimes find themselves confused about the proper settings for their print jobs. With that in mind, Robo built "onboard slicing" into the Robo C2 and Robo R2 3D printers. This means that a lot of the guesswork is taken out of the slicing process because it can be handled by customized slicing software that is built right into the printer itself! Simply take your 3D model, save it onto a USB drive, plug it into your Robo 3D printer, go through a few settings on the device’s touchscreen, press print, and you’re off!
"Isn't 3D modeling really difficult?"
Fear not, for 3D modeling isn’t nearly as complicated as you might think. Tinkercad is your go-to, simple-to-use 3D modeling software for the classroom. It’s free, web-based (nothing to download or install), and FUN! I recently taught a class on Tinkercad at a STEM Space Camp in Los Angeles, CA, and in the process learned one very important thing: kids pick this up very quickly! After leading a 15 minute "how-to" on the use of the software that involved pulling and dragging simple shapes, sizing them, duplicating them, and so forth, I then proposed a design challenge — make a 3D printable rocket model. Within another 15 minutes, kids had formed teams and were designing their own rocket. They turned out amazing! Your students will pick this up quicker than you think. Once they design their file in Tinkercad, you can save it to a USB stick as an .STL file, plug it into the printer, and press print. It's that simple.
"What materials can I use to 3D print?"
There are over 30 different materials you can print with. PLA plastic is perhaps the most common 3D printing material used in the classroom because it is both biodegradable and safe. There are even variations of PLA plastic that are infused with wood, carbon fiber, stainless steel, and other materials that you can use when you want your prints to have a certain look and feel.
Another popular material is flexible TPE. This somewhat “squishy” material can be used to create objects like tires, toys, phone cases, wearables, and other functional products.
Conductive ABS is an "off the spectrum" material that can be used in the Robo R2 3D printer that will allow you to create low-voltage circuitry applications and touch sensor projects.
"What about support? If I run into a problem or have a question about my 3D printer, will anyone be able to help me?"
Support services are a very important thing to consider when you are looking to purchase a 3D printer for your classroom. Some companies offer little in the way of direct support for their users, while others only offer support via email or online chat - which can grind even the simplest projects to a halt while you wait for a response from customer service. Here at Robo, our highly-rated support team is available to assist you via phone, email, and online chat, and there is no limit to the number of times you can reach out for help, should you need it.
"Are there any other online resources that help make 3D printing even easier to implement into the classroom?"
There are lots of great sites that will help you to implement 3D printing into the classroom quickly and easily. Here are my top 3 online destinations:
The most comprehensive and robust STEM curriculum platform utilizing 3D printable kits in almost every lesson plan. MyStemKits is an accredited program developed by Florida State University that adheres to NGSS and State Standards.
A free platform that from the folks at Thingiverse featuring 3D printable lessons sorted by grade level. Most of the available lessons were actually created by teachers in a free sharing platform.
A platform that enables effective and efficient coverage of Design and Technologies curriculum and STEM learning areas. Their complete solution includes 3D software, a teacher's dashboard for easy class management, accredited professional development, and curriculum on maker pedagogy and design thinking.
Thank you for taking the time to read this post! We know that bringing newer technologies into the classroom setting can enhance and enrich curriculum, as well as pose a variety of new challenges for educators, which is why we're committed to demystifying the process and making it easy for teachers to bring cutting-edge solutions to their students. If you have any questions about the information presented here, please don't hesitate to sound off in the comments or reach out to us directly by emailing edu@robo3d.com.